My fabulous friend Emily hosted an awesome Girls Night Out. Although she didn't call it that. I am because it involved Girls (aka female bloggers), it was night time, and it was not at my house (YAY for not having to host or clean). It was so much fun because it involved two of my very favorite things (ya that's a song) working out and FOOD!
We got to check out the newest boxing gym here in the Salt Lake Valley and let me just tell you I am over the top impressed with this place!! It is called Title Boxing Club you can check them out on Facebook. They post specials and motivation all the time and the boxing class schedule is on there too. (You will definitely see me there at several classes) Ok so now for the pictures.
 Those are 100 pound bags and they are awesome. They have 60 of them (that's a lot by the way). We did a one hour power-hour workout using the bags and body-weight exercises my shins were sweating people that's how intense this workout was! The rumor is you can burn up to 1000 calories during one of these classes depending on how much you push yourself. Did I mention if you want to try out a power hour class the first hit (class) is free?
 Check out all these hot momma's! We all have our "fierce" faces on here. Jill and I are hiding in the back trying to hide our big noses!
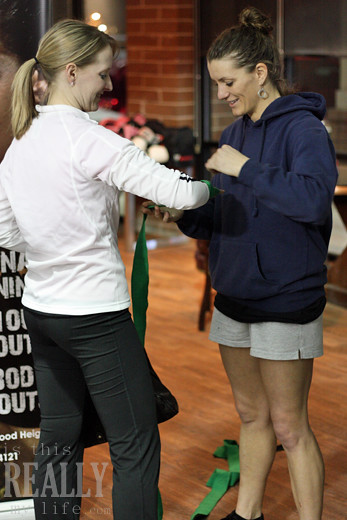 Our amazing instructor, Maryguenn Vellinga! She was so great and helpful and not mean at all. Thanks Emily for letting me steal pictures from Flickr.
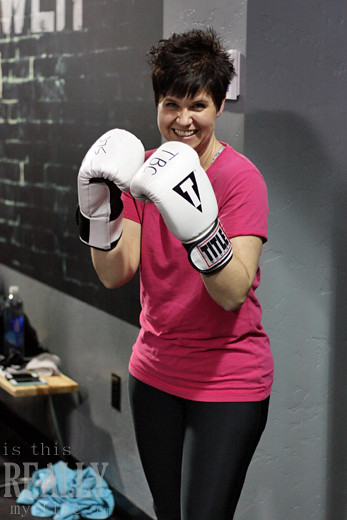 I put those gloves on and I pretty much felt like I was going to knock something out. I LOVED it. Did I already say that? Thanks again to Emily for the photo.

This is in the entrance and I thought it looked pretty cool.
 I want those arms so a boxing I will go....
 Thanks again to Emily for hosting an awesome event and to Michael Alger (owner of Title Boxing Club in Cottonwood Heights) for welcoming us crazy ladies!!
I am linking up with Lolli for PhotoStory Friday over here.
I was not compensated for this post. We were able to participate in the class for free and I will be entered into a drawing for a chance to win a free year membership; however all opinions are my own.
We got to check out the newest boxing gym here in the Salt Lake Valley and let me just tell you I am over the top impressed with this place!! It is called Title Boxing Club you can check them out on Facebook. They post specials and motivation all the time and the boxing class schedule is on there too. (You will definitely see me there at several classes) Ok so now for the pictures.
This is in the entrance and I thought it looked pretty cool.
I am linking up with Lolli for PhotoStory Friday over here.
I was not compensated for this post. We were able to participate in the class for free and I will be entered into a drawing for a chance to win a free year membership; however all opinions are my own.