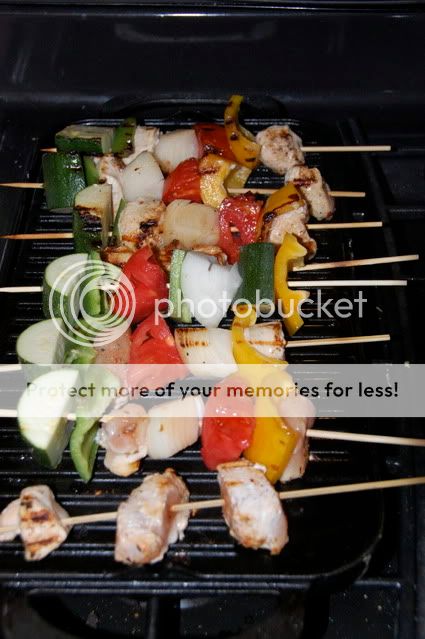
Last night for dinner I was inspired by kitchenmonki.com where I was doing some menu planning. Working on three months at a time. Now that is a challenge in itself but to also try to menu plan around items that are on sale AND that I have coupons for almost impossible. I said ALMOST I promise it can be done. This is my secret.... oh and I didn't invent the secret I stole it from someone. I theme menu plan. For example on Monday we will be eating something from my Pampered Chef cookbooks, Tuesday my old standbys, Wednesday Mexican, and so on and so forth. You get the idea. That makes it a little more flexible for me to match sales with my menu. Anyway I digress what I cooked was Chicken Kabobs. That's easy because I bought chicken on sale a few weeks ago and have it in the freezer and I have been going to my favorite farmers market for fresh produce once a week. I followed Clair's advice and only bought fruits and veggies that were priced around $1 per pound. So not only was this meal yummy and a crowd pleaser but it was also inexpensive and healthy! I think I should get bonus points for that.
The main challenge for this week was to only buy items that were on sale AND that I had a coupon for. So after going over the sales for the week and my coupons I went to Target. They were having their famous buy two items get a $5 gift card. So I knew my husband and I needed razors and a few other items. The razors were a huge savings I got 4 Gillette Sensor razors for my husband normally $8.99 and I got them for about $2.49 a piece. I also got my razors and replacement blades for a great deal. I also got my favorite body wash for FREE. I was so excited!! We did need sunscreen as well and I did not have a coupon for that but I went with the store brand and saved that way this week. I only bought produce and milk this week at the grocery store so overall I am SAVING, SAVING, SAVING!!
Are you getting your budget in shape too? Join me and check out our facebook fan page for more info!

